You might feel a little nervous about installing a smart toilet at home, but you can do it. Many people with basic DIY skills have successfully tackled the project of installing smart toilet systems. Safety is especially important when installing smart toilet devices that combine water and electricity. Experts warn that skipping steps or ignoring the manual during installing smart toilet units can lead to problems. Manufacturers rigorously test these toilets for years of use, water resistance, and electrical safety. Always follow the instructions that come with your smart toilet to keep your bathroom safe and your new device working properly. Double-check that your home setup meets all the requirements before you begin installing a smart toilet.
Key Takeaways
Measure your bathroom space carefully and check water pressure and electrical outlet location before buying a smart toilet.
Gather all the right tools, materials, and safety gear to make installation smooth and safe.
Remove the old toilet step by step, then install the flange, T-bolts, and connect the water supply and electrical outlet properly.
Test all smart toilet features and check for leaks to ensure everything works well and stays safe.
Call a licensed plumber or electrician if you face electrical or water problems beyond basic fixes.
Preparation
Measure and Check Fit
Before you start installing smart toilet features, you need to make sure your new toilet will fit in your bathroom. Grab a tape measure and check the distance from the wall to the center of the floor drain. Most smart toilets need a standard rough-in measurement, usually 12 inches. Measure the width and length of the space around your old toilet. Make sure there is enough room for the new unit, especially if it has extra features like a control panel or side arm. If your bathroom feels tight, double-check the product dimensions. You want to avoid surprises on installation day.
Tip: Write down all your measurements. Bring them with you when you shop for your smart toilet.
Water Pressure Test
Smart toilets need the right water pressure to work well. Some tankless models need higher water pressure than most homes have. If your water pressure is too low, the toilet might not flush properly. You can buy a simple water pressure gauge at a hardware store. Attach it to a faucet and turn on the water. Most smart toilets work best with water pressure between 20 and 25 psi. If your pressure is lower, you might need a pump or a pressure-assisted toilet. These models boost water flow, so you get a strong flush even if your home has low pressure.
Electrical Outlet Location
Smart toilets need power for their high-tech features. You must have a grounded electrical outlet close to the toilet. Safety comes first. Place the outlet at least 12 inches away from any water source, like the sink or shower. Keep it at least 12 inches above the floor to avoid water spills. Use a GFCI outlet, which shuts off power if it senses a problem. This helps prevent shocks in wet areas. Always turn off the power at the breaker before you install or check an outlet. If you are not sure about wiring, call a licensed electrician.
Note: Outlets in bathrooms should be splash-proof and checked often for damage. Test your GFCI outlet every month by pressing the "test" button.
Tools and Materials
Getting ready for installing smart toilet features means gathering the right tools and materials. You want to make sure you have everything on hand before you start. This helps you avoid last-minute trips to the store and keeps your project running smoothly.
Tools List
You do not need fancy tools, but you do need the right ones. Here is a list that experts recommend for a smart toilet installation:
Adjustable wrench – Tightens nuts and bolts.
Flathead screwdriver – Removes and installs screws.
Phillips screwdriver – Handles cross-head screws.
Putty knife – Scrapes off the old wax ring and any residue.
Level – Checks if the toilet sits flat on the floor.
Tape measure – Confirms all your measurements.
Utility knife – Cuts packaging or caulk if needed.
Tip: Turn off the water supply before you start removing your old toilet. This helps prevent leaks and messes.
Materials Needed
Smart toilets use strong materials like porcelain and polypropylene. These materials last a long time and are easy to clean. You will also need a few extra parts for a safe and secure installation:
New wax ring or rubber seal (for a leak-free base)
T-valve (to split the water supply)
Flexible water supply hose
Mounting bolts and caps
Electrical outlet cover (GFCI recommended)
Special fittings for tankless or standard models, if your smart toilet requires them
Manufacturers design electronic parts with water-resistant housings and sealed connections. This keeps the electronics safe from splashes and humidity.
Safety Gear
Safety always comes first when installing smart toilet systems. You should wear:
Work gloves (to protect your hands)
Safety glasses (to shield your eyes from debris)
Closed-toe shoes (to protect your feet)
If you need to work with electrical outlets, make sure the power is off at the breaker. Use a voltage tester to double-check. If you feel unsure about wiring, call a licensed electrician.
Note: Following the manufacturer’s instructions and using the right safety gear can help you avoid injuries and keep your new smart toilet working for years.
Installing Smart Toilet
Remove Old Toilet
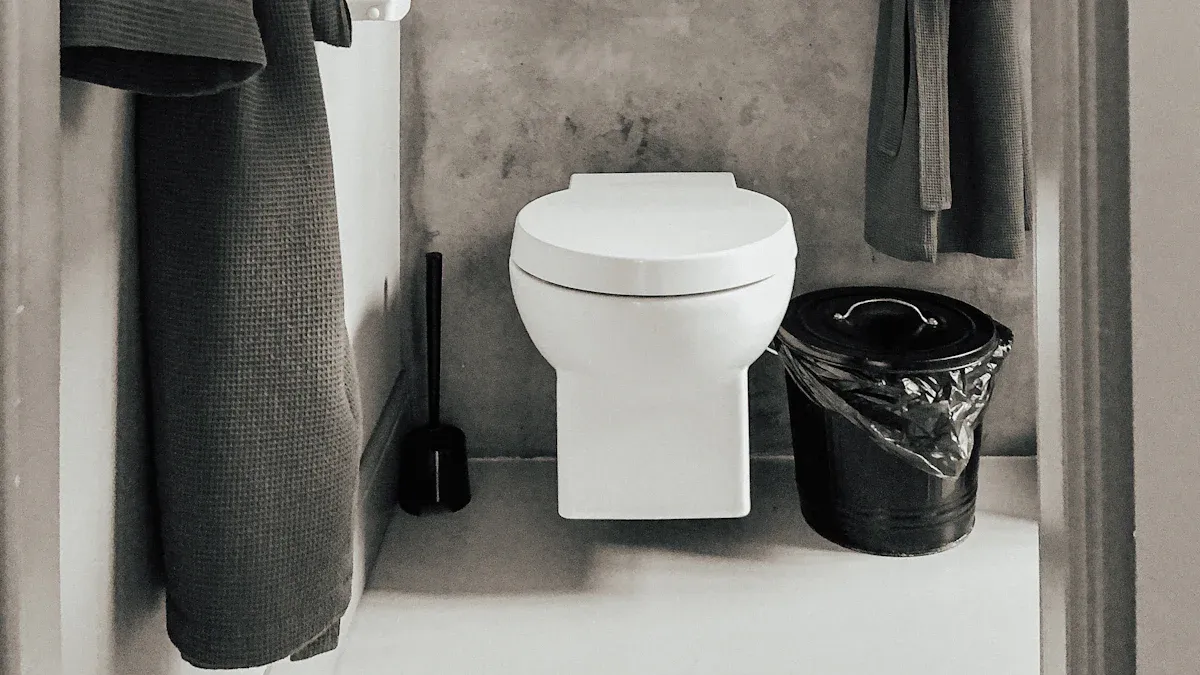
Ready to start? First, you need to take out your old toilet. This step might sound tough, but you can do it if you go slow and follow each part.
Turn off the water supply. Find the shut-off valve near your toilet and twist it until the water stops.
Flush the toilet to empty the tank and bowl. Use a sponge or towel to soak up any leftover water.
Use an adjustable wrench to disconnect the water supply line. If the bolts look rusty, spray a little lubricant to help loosen them.
If your toilet has a separate tank, remove the bolts holding the tank to the bowl. Lift the tank off and set it aside.
Unscrew the floor bolts (T-bolts) that hold the toilet bowl in place. Sometimes, you might need a hacksaw if the bolts are stuck.
Cut through any caulk around the base with a utility knife.
Gently rock the toilet back and forth to break the seal, then lift it off the flange.
Use a putty knife to scrape away the old wax ring. Check the flange for any cracks or damage.
Tip: Place an old towel or rag in the drain hole to block sewer gases while you work.
Install Flange and T-Bolts
Now you’re ready to set up the base for your new smart toilet. The flange and T-bolts keep your toilet steady and leak-free.
Make sure the flange sits either flush with the floor or just above it (about 1/4 inch higher is common). This helps create a tight seal.
If the flange looks damaged, replace it before moving on. You can use flange extenders or spacers if the floor is uneven.
Pick the right wax ring. Use a thicker one if your flange sits lower than the floor.
Place the new wax ring on the flange.
Insert new brass T-bolts into the slots on the flange. Brass bolts resist rust and give a little flexibility.
Double-check that everything lines up straight. Some smart toilets need special mounting kits, so check your manual for any unique fittings.
Note: Clean the area well before installing smart toilet models. A clean surface helps prevent leaks and keeps your new toilet stable.
Connect T-Valve and Water Line
Next, you’ll connect the water supply. This step is important for all the features of your smart toilet to work.
Make sure the main water supply is still off.
Attach the T-valve to the water supply line. This valve splits the water so both your toilet and bidet functions get what they need.
Connect the flexible water hose from the T-valve to the toilet’s water inlet. Tighten all connections by hand first, then use a wrench for a snug fit.
Turn the water supply back on slowly. Watch for any leaks at the connections.
If you see drips, turn off the water and tighten the fittings a bit more.
Tip: Always use the fittings and hoses that come with your smart toilet. Manufacturers test these parts for safety and best performance.
Electrical Connection
Smart toilets need power for their cool features. You want to make sure this step is safe and follows all the rules.
Turn off the electricity at the circuit breaker before you start.
Use a voltage tester to double-check that the outlet is off.
Plug the toilet into a nearby GFCI outlet. This type of outlet shuts off power if it senses a problem, which helps keep you safe.
Keep the plug and cord away from any water sources. Make sure the outlet sits at least 12 inches above the floor and 12 inches from sinks or tubs.
If you need to install a new outlet, call a licensed electrician. Never try to wire a new outlet yourself if you’re not sure how.
Safety Alert: Never use extension cords or power strips for your smart toilet. Always use a grounded, dedicated outlet.
Adjust and Secure Seat
You’re almost done! Now it’s time to make sure your smart toilet seat fits just right.
Place the toilet on the flange, lining up the holes with the T-bolts.
Press down gently to set the wax ring and create a seal.
Add washers and nuts to the T-bolts, then tighten them evenly. Don’t overtighten—just enough to keep the toilet from rocking.
Attach the seat and any control panels or side arms. Adjust the seat so it sits straight and feels comfortable.
Snap on the bolt caps for a finished look.
Note: Some smart toilets have extra features like night lights or heated seats. Follow the manufacturer’s instructions for any special steps or settings.
When you finish installing smart toilet features, double-check all your connections. Make sure nothing wobbles and there are no leaks. You’re ready to move on to testing and enjoying your new high-tech bathroom upgrade!
Testing and Troubleshooting
Test Features
Now that your smart toilet is in place, it’s time to see what it can do. Start by plugging in the toilet and turning on the water supply. Use the remote or control panel to try out each feature. Test the bidet spray, heated seat, dryer, and night light. If your toilet connects to a smart home system like Alexa or Google Home, check that you can control it with your voice or phone. Many smart toilets have sensors that detect when you sit down or stand up. Make sure these sensors respond quickly. Some models even let you adjust water pressure and temperature. Try changing these settings to see if everything works as expected.
Tip: Test the alarm or alert system if your toilet has one. Monthly tests help you catch problems early and keep your smart toilet running smoothly.
Check for Leaks
After installing smart toilet features, always check for leaks. Look around the base of the toilet and at every hose connection. Run a dry paper towel along the joints and fittings. If you see water or feel dampness, tighten the connections a little more. Smart toilets often use water leak detectors with waterproof sensors. These sensors can send alerts to your phone if they sense water where it shouldn’t be. Some systems even shut off the water supply to prevent damage. Clean the sensors and check their batteries every few months to keep them reliable.
Common Issues
Sometimes things don’t go perfectly the first time. Here are a few common problems and how you can fix them:
The toilet rocks or feels loose: Tighten the bolts at the base, but don’t overtighten.
The bidet spray is weak: Check your water pressure and make sure the hose isn’t kinked.
The seat doesn’t heat up: Confirm the toilet is plugged into a working outlet.
The remote or controls don’t respond: Replace the batteries or reset the system.
You see an error code: Look it up in your manual for a quick fix.
Note: Many smart toilets use IP67-rated sensors that work even in wet bathrooms. Keeping these sensors clean helps prevent false alarms.
When to Call a Pro
You can solve most small problems yourself, but sometimes you need help. Call a licensed plumber or electrician if:
You see water leaking from under the toilet that won’t stop.
The toilet keeps tripping the GFCI outlet.
You smell burning or see sparks near the plug.
The smart features won’t work after you’ve checked the basics.
Don’t wait if you feel unsure. Getting help early can save you time and money. Installing smart toilet systems can be simple, but safety always comes first.
You just learned how to upgrade your bathroom with a smart toilet. Here’s a quick recap:
Measure your space and check your water and power.
Gather your tools and safety gear.
Remove the old toilet, set up the new one, and connect everything.
Test all the features and look for leaks.
Remember, always follow the instructions and stay safe. If you get stuck, don’t hesitate to ask for help. Enjoy your new smart toilet!
FAQ
How long does it take to install a smart toilet?
Most people finish in about 2 to 4 hours. If you have experience with home projects, you might go faster. Take your time and follow each step.
Can I install a smart toilet without a plumber?
Yes, you can! If you follow the instructions and use the right tools, you can do it yourself. If you feel unsure, call a pro for help.
What if my bathroom doesn’t have a GFCI outlet?
You need a GFCI outlet for safety. If you don’t have one, ask a licensed electrician to install it. Never use an extension cord or regular outlet.
Do smart toilets use a lot of electricity?
No, most smart toilets use very little power. Features like heated seats or dryers use more, but you won’t see a big change in your electric bill.

