Your kitchen’s "look" isn't defined by your cabinets, but by the shadows beneath them.
For most homeowners, the gap between a "functional kitchen" and a "luxury space" is simply a matter of lumens and placement. Decorative accent lighting—specifically under-cabinet LED strips—is the most high-impact, low-cost upgrade you can make to your home’s interior architecture in 2026.
However, the difference between a high-end glow and a cheap "dotted" reflection lies in the technical details: Color Rendering Index (CRI), diffusion channels, and voltage management.
What is Under-Cabinet LED Lighting?
Under-Cabinet LED Lighting is a low-voltage, energy-efficient illumination system that uses flexible LED tape strips or rigid bars mounted to the underside of wall cabinets. It serves a dual purpose: Task Lighting (providing shadow-free visibility for food prep) and Accent Lighting (enhancing architectural depth and mood). Unlike old-school fluorescent bars, modern LED systems allow for seamless integration, smart-home control, and high-fidelity color rendering.
In this guide, we will move beyond basic "stick-and-go" advice. We will explore the Backsplash Interaction Matrix, 12V vs. 24V physics, and how to synchronize your strip lights with high-performance overhead bulbs like the Uphoria Pro LED PAR30 for a cohesive lighting design.
Designing for Intent: Task vs. Accent Lighting
Before peeling back the adhesive backing, you must define the "Job to be Done" for your lighting. A common mistake is installing a single strip hoping it will do everything. In reality, task lighting and ambient accent lighting have opposing requirements.
Task Lighting is about performance. It needs to be bright enough (lumens) to safely chop vegetables without shadows. Accent Lighting is about emotion. It should be soft, warm, and dimmable to create a "lounge" atmosphere after the cooking is done.
Here is the summary comparison list you need to plan your circuit:
| Feature | Task Lighting (Work Mode) | Accent Lighting (Mood Mode) |
|---|---|---|
| Placement | Front of cabinet (closest to you) | Back of cabinet (closest to wall) |
| Brightness | 350+ Lumens per foot | 150-250 Lumens per foot |
| Goal | Eliminate shadows on the counter | Highlight backsplash texture & wash wall |
| Control | On/Off or High Dimmer | Low Dimmer / Smart "Night" Scene |
The Core Attributes: How to Choose the Right LED Strip
Color Temperature (CCT) and Color Rendering Index (CRI) are the two technical specs that determine if your kitchen looks like a high-end showroom or a clinical dentist's office.
1. Color Temperature (CCT): The Goldilocks Zone
Kelvin (K) measures the "warmth" or "coolness" of the light. For residential kitchens, especially those with wood tones or warm granite, 2700K to 3000K is the industry standard. This range mimics the inviting glow of traditional incandescent bulbs.
2. High CRI: Why Your Food Looks Grey
CRI (Color Rendering Index) measures a light source's ability to reveal the true colors of an object compared to natural sunlight. A low CRI (under 80) makes meats look brown and vegetables look dull. You should always aim for a CRI of 90+.
Pro-Tip: The "Layered Lighting" Consistency Rule
Your under-cabinet strips do not exist in a vacuum. If you install beautiful 2700K strips but leave cheap 5000K bulbs in your ceiling recessed cans, your kitchen will look disjointed. You must match the "Core Attributes" across all light sources.
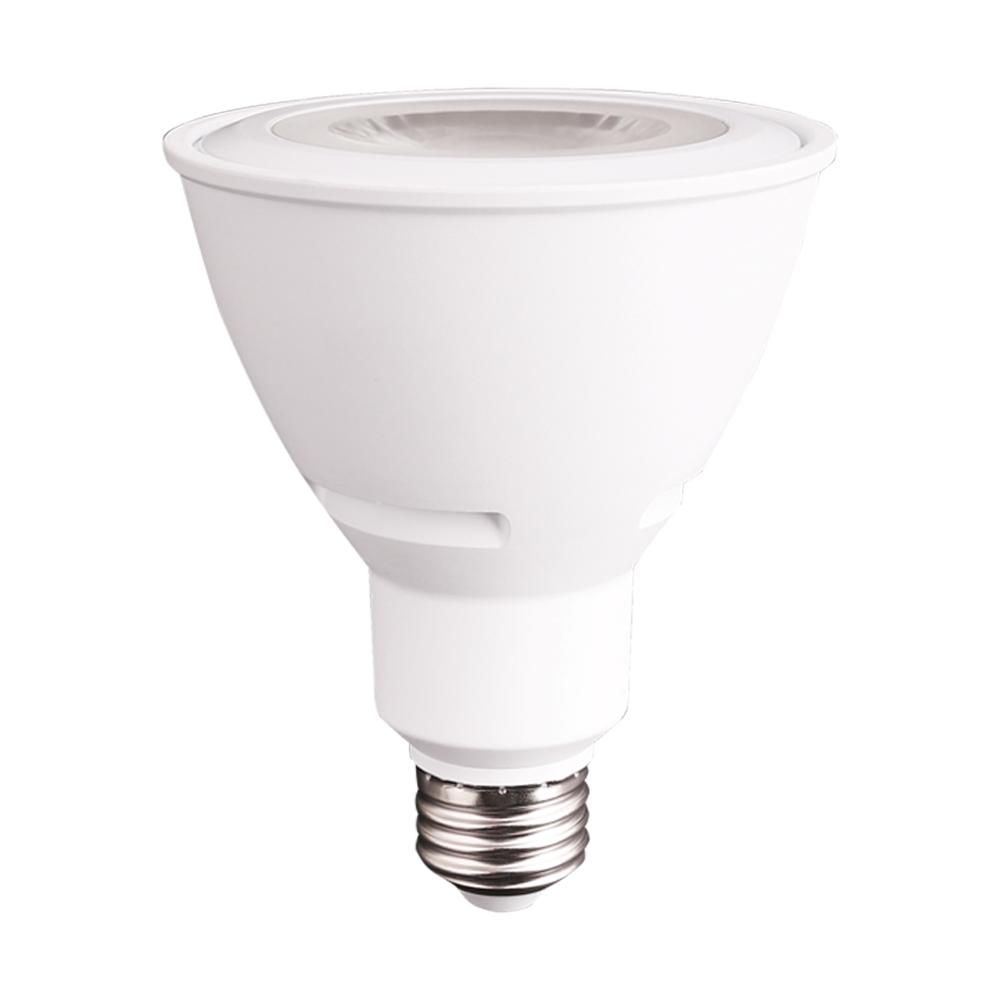
For your overhead ambient lighting, we recommend the Uphoria Pro LED PAR30 Long Neck Bulb. It is specifically engineered to match high-end LED strips with a 2700K temperature and 90+ CRI, ensuring your entire kitchen renders colors accurately.

3. Voltage Logic: 12V vs. 24V
Voltage Drop is a phenomenon where the LED strip gets dimmer the further it gets from the power source.
- 12V Systems: Good for short runs (under 16 feet).
- 24V Systems: The professional choice. It carries power more efficiently over longer distances (up to 32 feet) without visible dimming, meaning you need fewer drivers and less wiring complexity.
The Backsplash Interaction Matrix (Information Gain)
Most DIY guides fail to mention that your backsplash material dictates your lighting choice. Putting a standard LED strip over a glossy tile is a recipe for glare disaster.
The "Dot Effect" Problem
Standard LED strips have visible diodes (the little yellow chips). When these shine onto a polished surface like quartz or subway tile, you see a reflection of "dots" rather than a smooth bar of light. This is visually distracting and looks cheap.
The Solutions Matrix
- For Glossy/Polished Surfaces (Quartz, Glass Tile): You must use a Diffuser Channel. This is an aluminum extrusion with a milky white plastic cover that blurs the dots into a neon-like neon glow. Alternatively, use COB (Chip on Board) LED strips, which have hundreds of diodes packed so closely that they appear as a solid line of light naturally.
- For Matte/Honed Surfaces (Slate, Concrete, Honed Granite): You can get away with standard strips without deep diffusion, as the matte surface naturally scatters the light, hiding the "dots."
- For Highly Reflective Dark Stone: Use a 45-Degree Corner Channel. Instead of shining the light straight down (where it bounces into your eyes), mount it in the corner where the cabinet meets the wall. This shoots the light specifically onto the backsplash at an angle, eliminating the direct glare reflection on the countertop.
Creative Placement Ideas for DIYers
1. The Floating Shelf Glow
Open shelving is a major 2025 trend. By routing a small channel into the back or bottom of a wood shelf and inserting a slim LED strip, you create a "levitating" effect. This is purely decorative accent lighting—keep the brightness low to avoid blinding people sitting at the dining table.
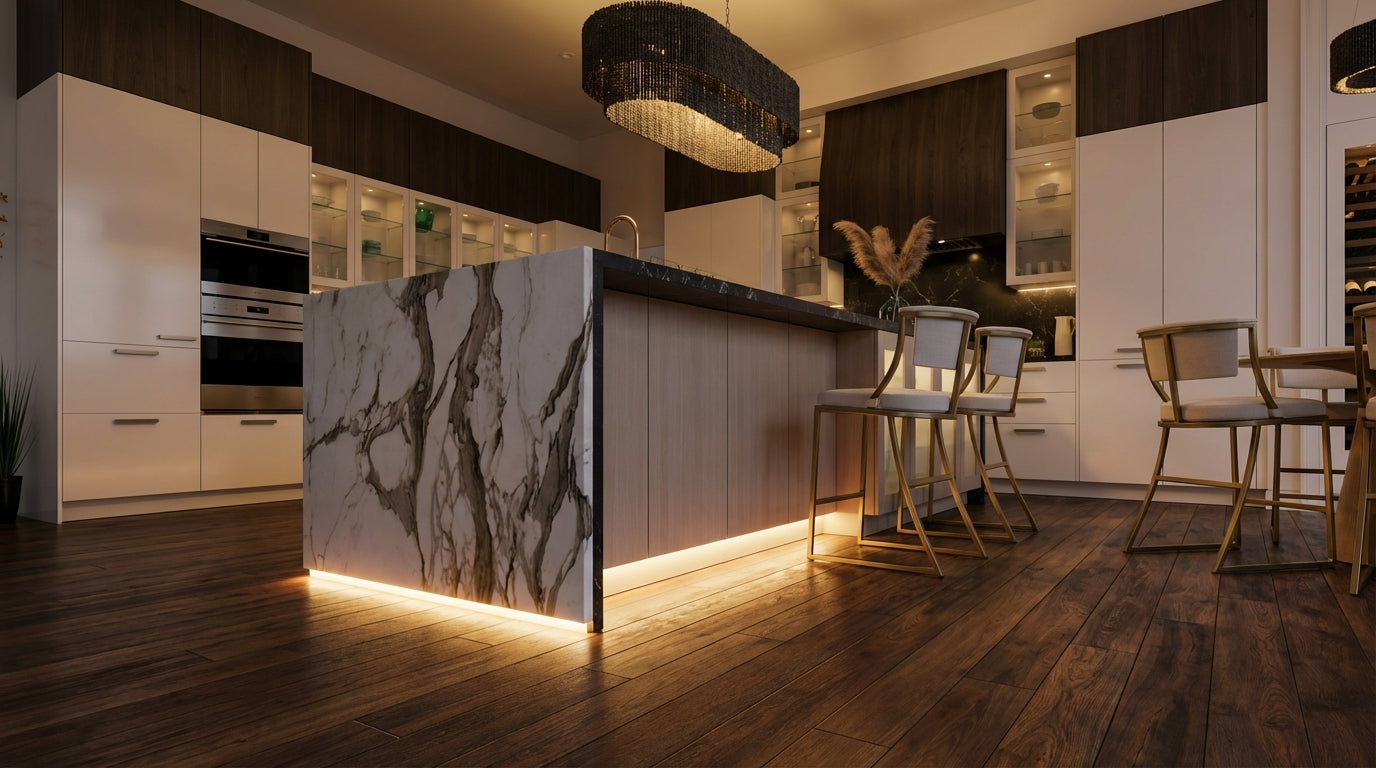
2. Toe-Kick Integration
Don't stop at the cabinets. Toe-Kick Lighting involves placing a strip at the very bottom of your base cabinets, near the floor. This provides a soft "night light" for late-night water runs without turning on the main overheads. It also makes the cabinets appear to float, adding a futuristic touch to modern kitchens.
The "Zero-Mistake" DIY Installation Flow
Ready to install? Follow this checklist to ensure a professional result.
- Measure & Map: Measure your cabinet lengths. Identify where your power outlet is (usually inside the microwave cabinet or above the fridge).
- Choose Your Driver: Calculate your total wattage. If you have 10 feet of strip at 3 Watts/foot, you need at least a 30W driver. Always buy a driver with 20% overhead (e.g., 40W or 60W) to prevent overheating.
-
Select Connections:
- Novice: Use "Solderless Clip Connectors." They snap onto the strip.
- Pro: Solder the wires directly to the pads for a permanent, corrosion-resistant bond.
- Mount the Channels: Cut your aluminum channels to size and screw or adhere them to the cabinet underside.
- Install the Strip: Peel the adhesive backing and press the strip firmly into the channel. Snap the diffuser lens on top.
- Power Up: Connect the driver to the mains and the low-voltage side to your strip.

Conclusion
Under-cabinet lighting is the bridge between utility and artistry. By focusing on "Things, not Strings"—like the physical properties of CRI, diffusion, and color temperature—you can design a lighting system that increases both the value and enjoyment of your home.
Remember, consistency is key. Ensure your main overhead lights match the quality of your new accent strips. The Uphoria Pro LED PAR30 is the ideal companion entity for this setup, providing the high-CRI, dimmable, 2700K foundation your kitchen needs.
Ready to transform your space? Check out our guide to customizing smart LED strips or explore the best outdoor light strips for 2025 to extend your lighting design to the patio.