Lighting changes how every portrait looks. If you use a good LED photography light like the LumiMuse 8, you can change how bright and colorful your photo is. This tool helps you show real skin colors and bright shades. You also use less power and do not get as much heat as old lights.
Advantage |
LED Studio Lighting |
Traditional Lighting Sources |
|---|---|---|
Energy Efficiency |
Uses less energy |
Wastes much energy as heat |
Color Control |
Adjustable, high CRI |
Limited options |
Quality of Light |
Needs less editing |
Needs more color correction |
You can use portable LED lights in a studio or outside easily.
Key Takeaways
LED photography lights, like the LumiMuse 8, save energy and do not get very hot. This makes them great for long portrait sessions.
Rim lighting can make your portraits look better. It creates a glowing line around your subject. This adds depth and makes the photo more interesting.
Using filters with LED lights lets you change color temperature and softness. This helps you set the mood you want in your portraits.
Portable LED lights are simple to carry and set up. They are great for taking photos in different places. You do not lose quality.
Trying different lighting setups and modifiers helps you find your own style. It also helps you get better at portrait photography.
LED Photography Light Basics
Why Choose LED for Portraits
A led photography light has many good points for portraits. It stays cool, so you and your model do not get hot. You can use it in small rooms because it does not make much heat. You can put gels or filters on it and they will not burn.
Here is why lots of photographers pick led photography light for portraits:
Advantage |
Description |
|---|---|
Low Heat Production |
Stays cool, safe for long sessions |
Natural Light Replication |
Makes skin tones look real with adjustable color temperature |
Versatility |
Works for both photos and videos |
Using a led photography light feels easy, almost like using sunlight. This helps you think about your ideas and where to put your lights.
Led lights help everyone feel comfortable.
You can use them in small studios or rooms.
You can add color filters and not worry.
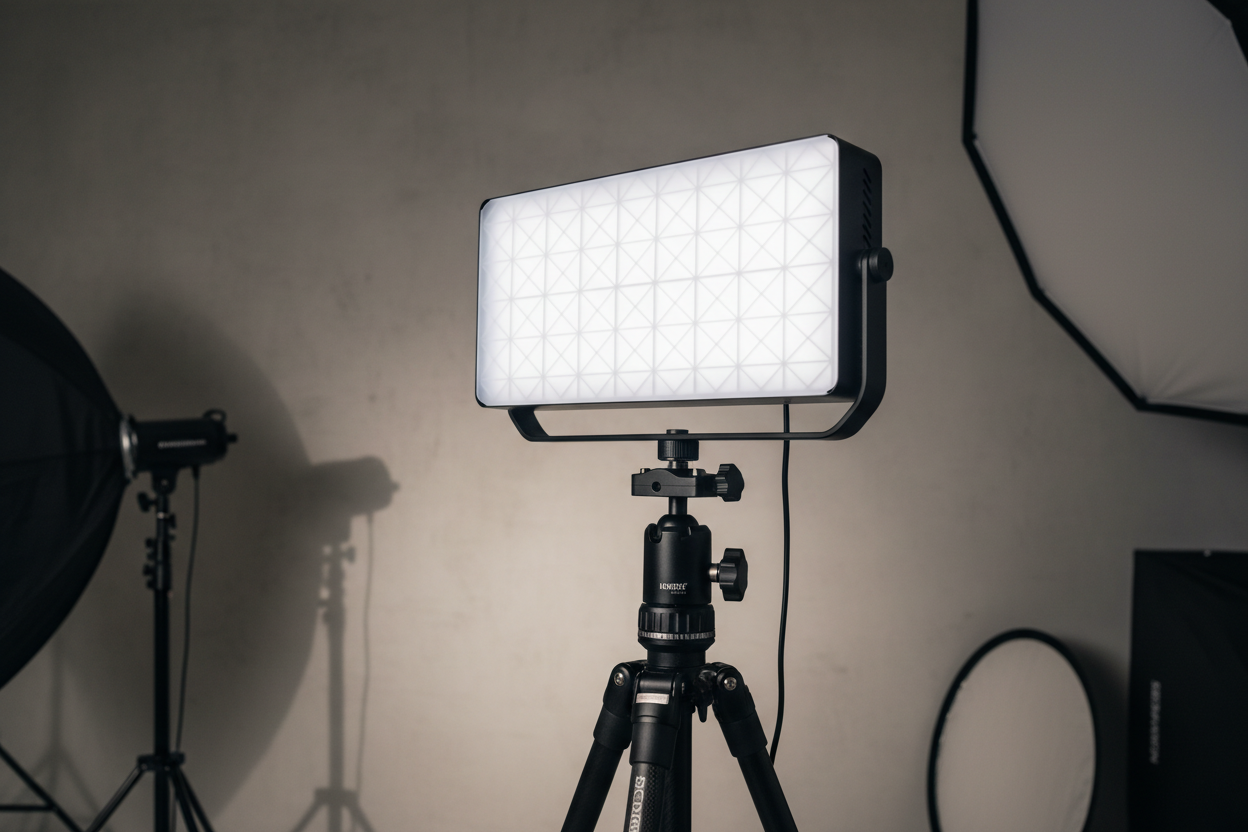
Key Features of LumiMuse 8
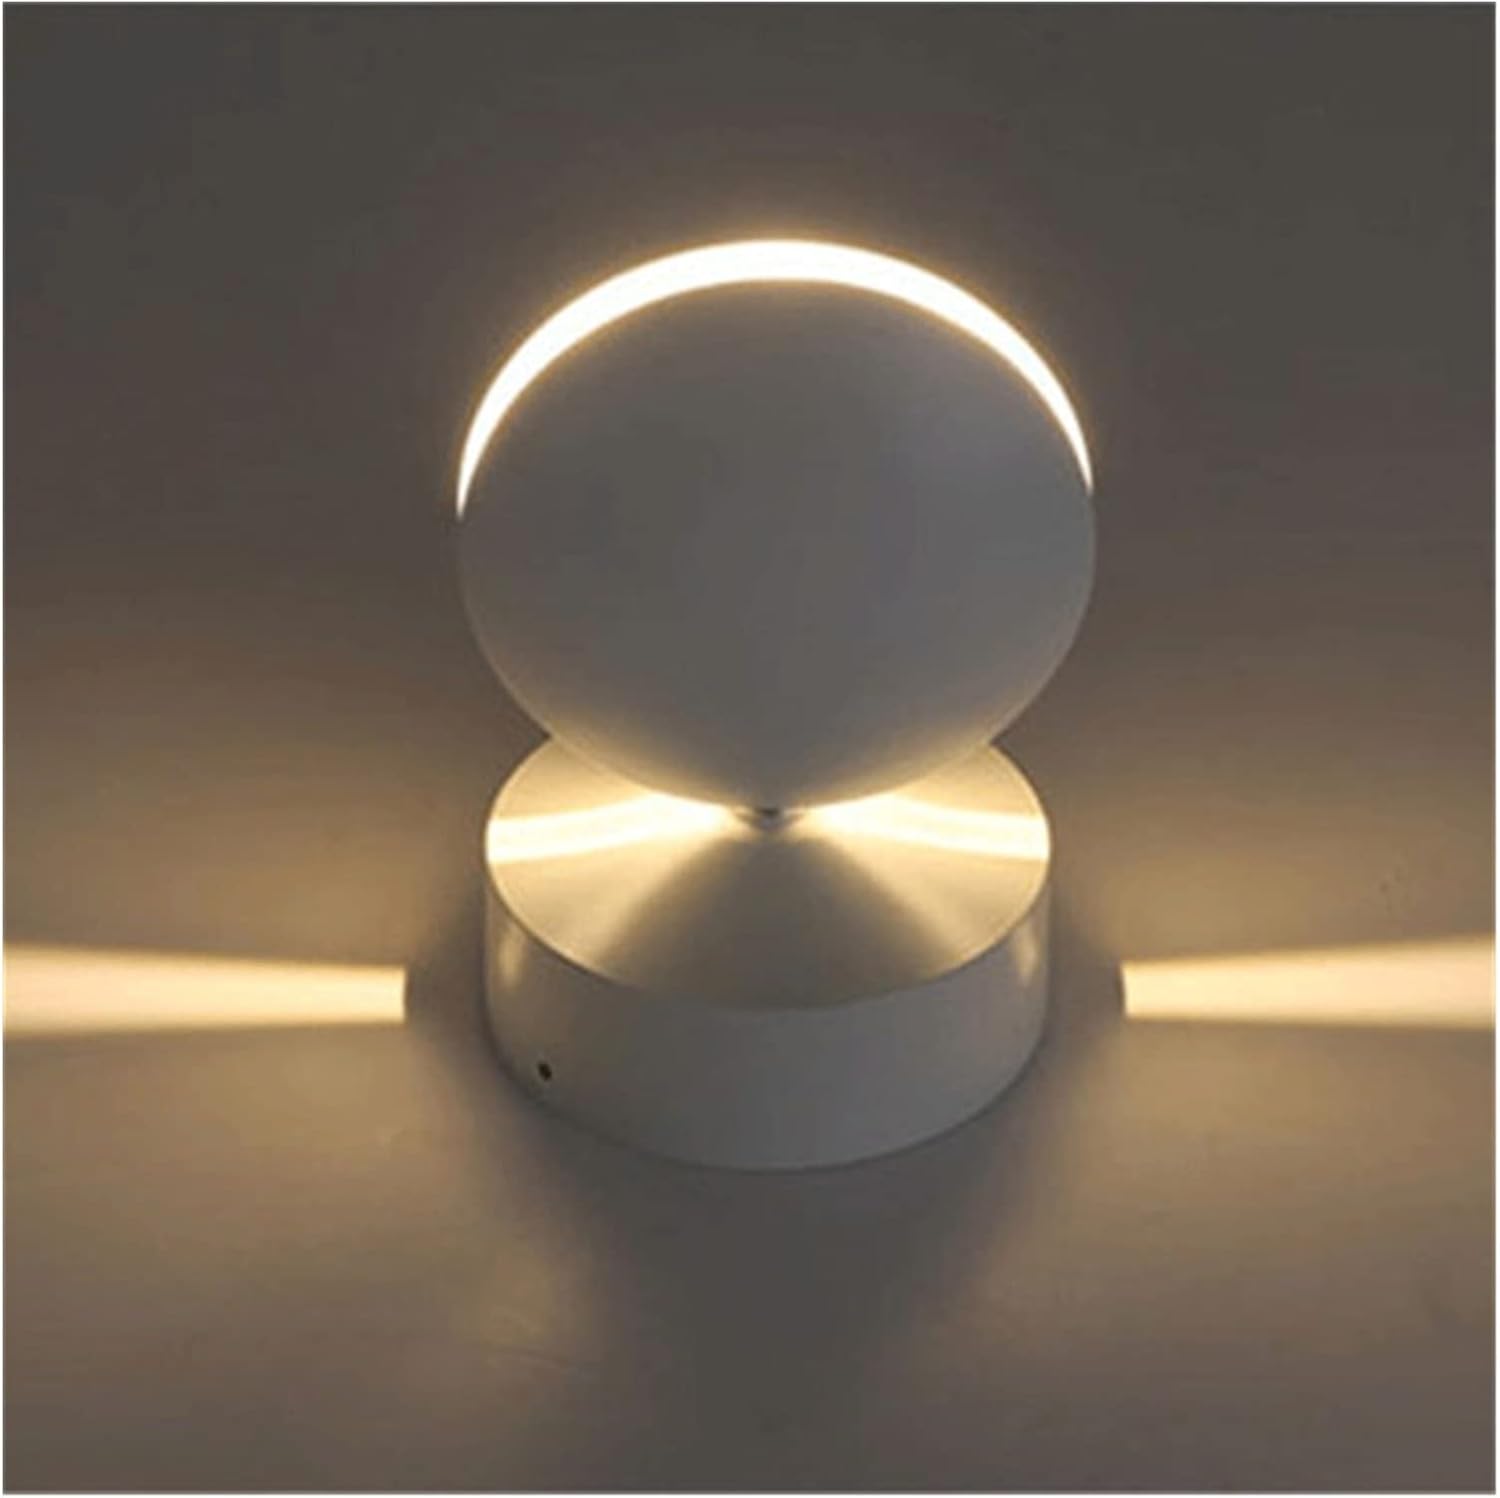
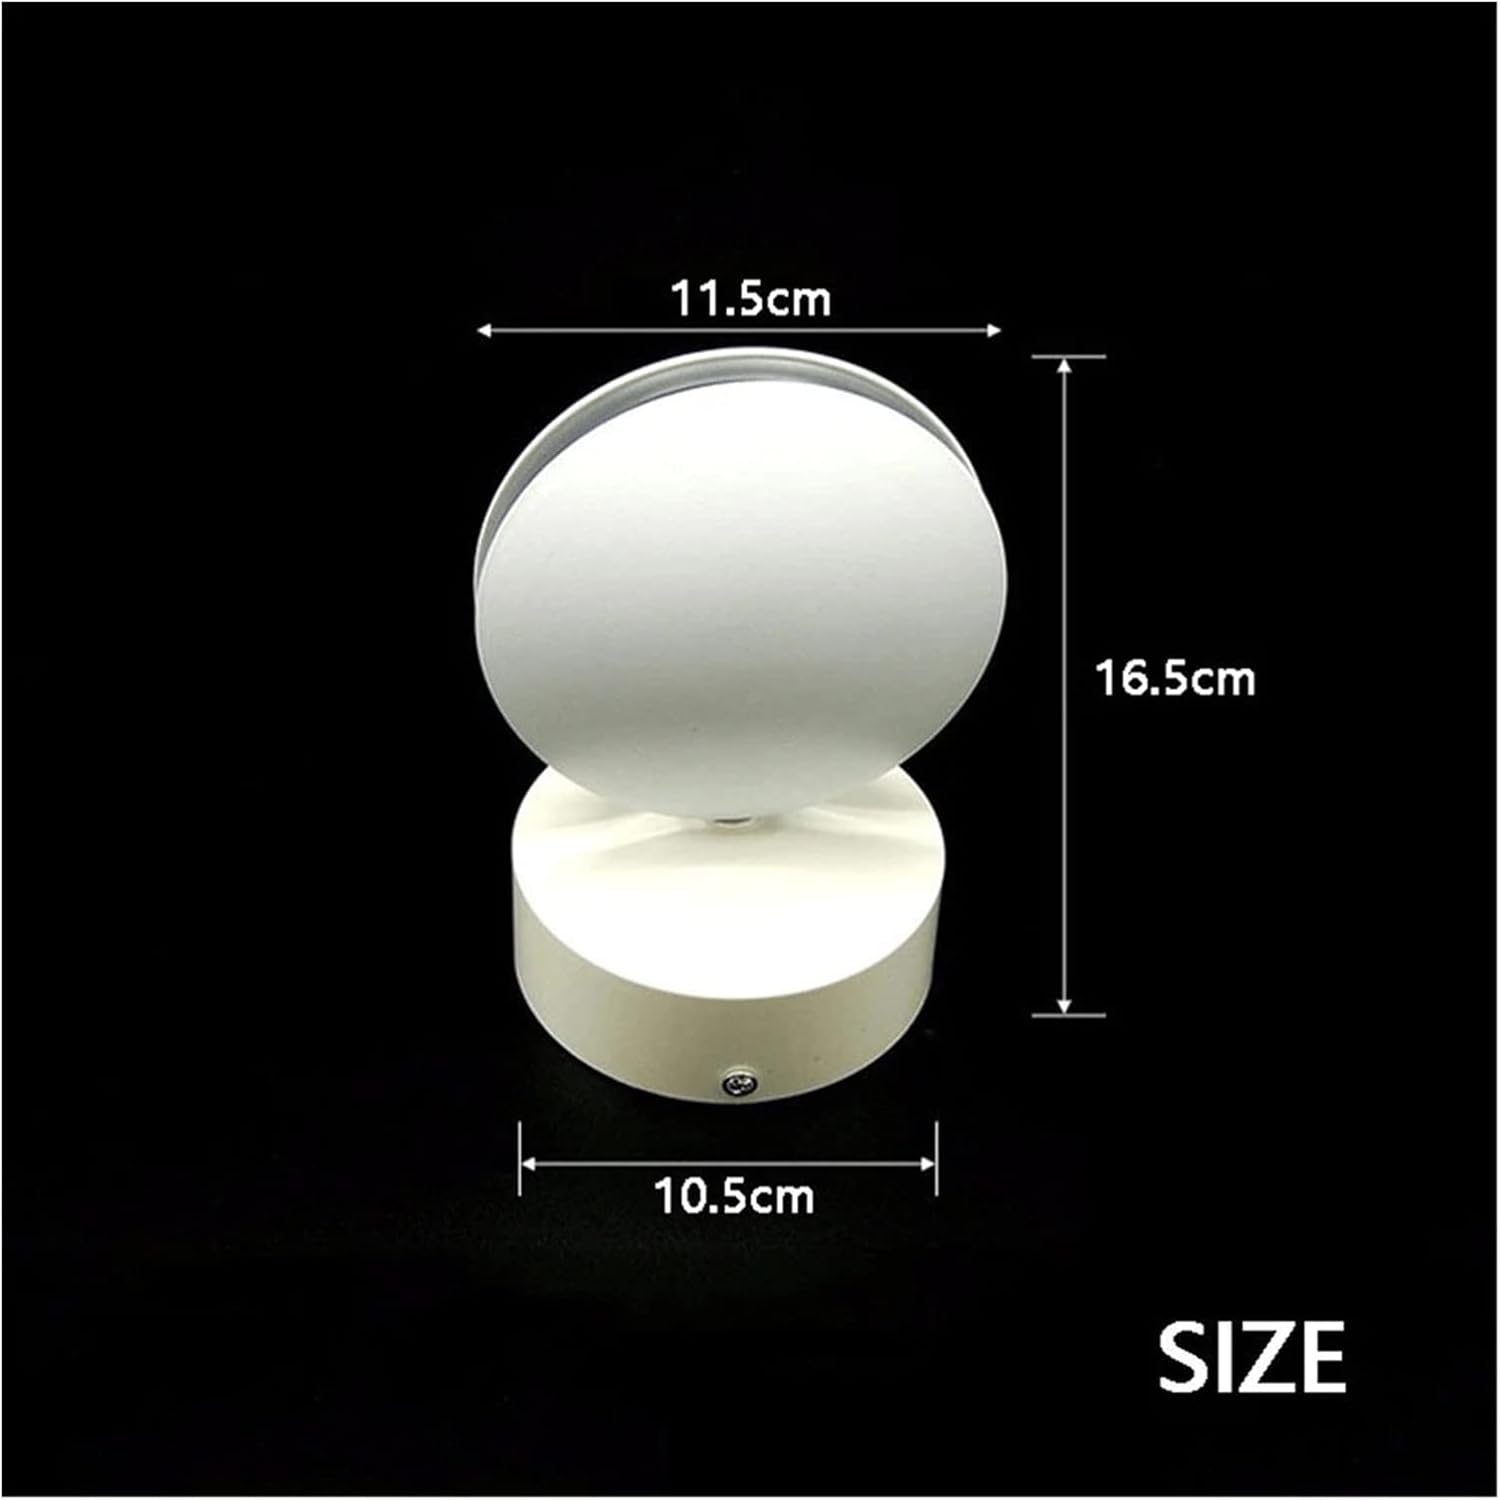
The LumiMuse 8 is a great led photography light for anyone. It is small and light, so you can take it anywhere. The eight led diodes give bright and even light. You can change how bright it is with a simple knob. This helps you get the look you want for your portraits.
Feature |
LumiMuse 8 |
LituFoto R18 |
VILTROX L116T |
|---|---|---|---|
Portability |
Compact and lightweight |
Compact design |
Lightweight |
Brightness |
8 powerful LEDs |
Not specified |
Not specified |
Dimmable Brightness Control |
Yes |
Not specified |
Not specified |
Additional Features |
Snap-on filters |
Built-in power bank |
LCD display |
You can use the LumiMuse 8 on your camera or off it. The snap-on filters let you change the color and softness of the light. The battery lasts long enough for most portrait shoots. You can charge it with a USB cable. This led photography light is flexible, strong, and easy to use in a small size.
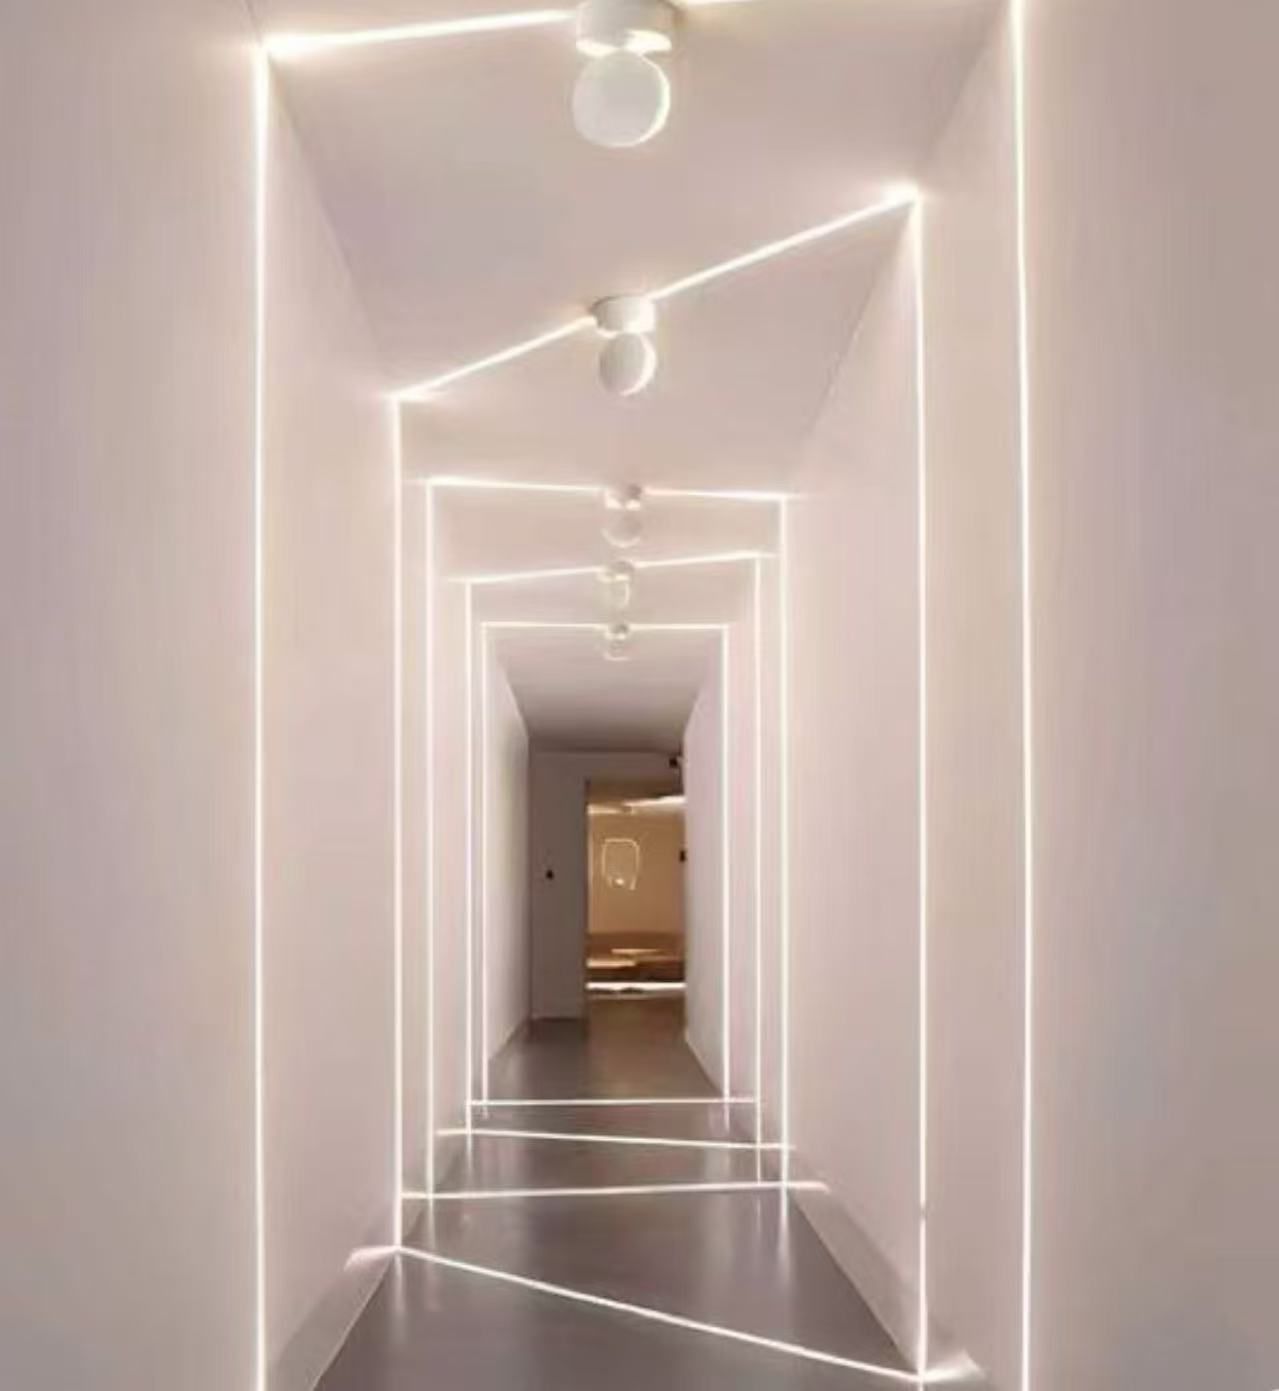
Rim Lighting for Captivating Portraits
Rim lighting can help you create captivating portraits that stand out. This technique uses a light source behind your subject to make a glowing outline around them. You can use rim lighting to add depth, shape, and drama to your photos. The LumiMuse 8 makes it easy to set up rim lighting, even if you are new to portrait photography.
Creating Subject Separation
Rim lighting works by placing your LED light behind your subject. The light shines on the edges of your subject, making a bright outline. This outline helps your subject pop out from the background. You can use this method to make sure your subject does not blend in or look flat.
Rim lighting creates a distinct outline that separates your subject from the background.
The technique adds depth and dimension to your images.
You highlight the shape and contours of your subject, especially in low-light setups.
Rim lighting prevents your subject from looking flat or lost in the scene.
Tip: Place the LumiMuse 8 just behind your subject, slightly to one side. Adjust the height so the light hits the shoulders and hair, but does not shine directly into the camera lens.
Many photographers use rim lighting to make their portraits more interesting. You can try this technique with a dark background for a dramatic effect. The LumiMuse 8’s compact size lets you move it easily to find the best angle.
Adding Drama with LED Light
Rim lighting does more than separate your subject. It also adds mood and drama to your portraits. When you use the LumiMuse 8, you can control the brightness and direction of the light. This helps you create strong highlights and deep shadows.
Rim lighting creates a luminous edge that defines your subject’s silhouette.
The effect adds mood, tension, and a cinematic feel to your portraits.
You can evoke strong emotions and make your images more powerful.
Professional photographers often skip fill lights to deepen shadows and increase contrast. You can use a black reflector on the shadow side to make the effect even stronger. The LumiMuse 8’s high color accuracy keeps skin tones looking natural, even in dramatic lighting.
Here is a simple way to set up rim lighting with the LumiMuse 8:
Attach a modifier to the LumiMuse 8 to focus the light.
Place the light behind your subject, aiming it at their outline.
Use a shallow depth of field to blur the background.
Adjust the brightness with the dimming control to get the right rim effect.
Choose a plain, dark background for more drama.
Try different filter colors to change the mood.
Note: Avoid placing the light too high. If you do, you might miss the eyes and lose important details. Always check for catchlights in the eyes to keep your portraits lively.
With the LumiMuse 8, you can experiment with rim lighting in any setting. You can create captivating portraits that have depth, emotion, and style.
Fill and Key Lighting Techniques
Lighting shapes every portrait you take. When you use LED lights, you can control both the main light and the fill light. This helps you create balanced, flattering portraits that look professional.
Lighting Type |
Description |
|---|---|
Key Light |
The main source of light that shapes the subject and has the highest intensity. |
Fill Light |
Used to soften shadows created by the key light without adding harsh shadows of its own. |
Softening Shadows in Portraits
Shadows can make a portrait look dramatic, but harsh shadows often distract from your subject’s face. You can use LED lights to soften these shadows and create a gentle, even look. The LumiMuse 8 gives you control over brightness and direction, so you can adjust the light to fit your style.
Place a reflector panel near your subject to bounce light back and soften shadows.
Move the reflector closer or farther away to change how deep the shadows appear.
Add a second diffusion frame or LED panel for a flatter, softer look.
Use modifiers like cloth or paper to spread out the light and make it less harsh.
Try a white reflector for a natural, soft fill light.
Foam boards work well as bounce materials to open up shadows.
Tip: The LumiMuse 8 comes with snap-on diffusion filters. Attach a diffusion filter to spread the light and reduce harsh lines on your subject’s face. You can also dim the light to make it softer.
When you use these techniques, you create portraits with smooth, natural-looking skin tones. Your subject will look relaxed and well-lit, even in tricky lighting situations.
Main Illumination with LED Photography Light
The key light is the main light in your portrait setup. It shapes your subject and sets the mood for your photo. With the LumiMuse 8, you can use the dimming feature to control how bright your key light appears. This helps you avoid overexposed spots and keeps your portraits looking balanced.
Place your LED light at a 45-degree angle to the left or right of your camera. Keep it slightly above your subject’s eye level for strong contrast and natural shadows.
Try placing the light directly above your subject to highlight the jawline and create soft shadows.
For creative effects, put the light behind your subject and use a reflector to bounce light onto the face.
Modifiers change the quality of your key light. Softboxes and umbrellas make the light softer and more flattering. The LumiMuse 8’s snap-on filters let you adjust color and diffusion quickly. You can experiment with different placements and filters to find the look you like best.
Modifiers like softboxes create gentle, even light.
Changing the direction of your LED light changes the mood and depth of your portrait.
Rim lights can help separate your subject from the background.
Note: Always check your subject’s face for even lighting. Adjust the brightness with the LumiMuse 8’s four-step dimming control until you see soft, natural shadows.
When you use LED lights as both key and fill lights, you gain full control over your portrait’s look. The LumiMuse 8 makes it easy to adjust light quality, color, and intensity. You can create portraits that are bright, soft, and full of life.
Creative LED Lighting for Taking Portraits
Light Painting Effects
You can use LED lights to create light painting effects in your portraits. Light painting means moving a light source during a long camera exposure. This technique lets you draw shapes, lines, or patterns around your subject. The LumiMuse 8 works well for this because it gives you steady, bright light and easy control over brightness.
Many photographers use high-performance LED setups to get smooth motion and bright colors in their creative projects. You can try placing the LumiMuse 8 under a chair or behind a prop to make dramatic effects. Some people use a paper snoot to focus the light in one direction. You can also change your camera settings, like aperture and ISO, to get the look you want. These tricks help you add energy and style when taking portraits.
Tip: Ask your subject to stay still while you move the LumiMuse 8 around them. This keeps their face sharp and lets the light trails stand out.
Using Filters for Artistic Portraits
Filters can change the mood and color of your portraits. The LumiMuse 8 includes snap-on filters that adjust color temperature and diffusion. You can use these filters to make the light warmer or cooler, or to soften harsh shadows. This gives you more control over the final image.
Snap-on filters let you change the color balance in your photos.
Diffusion filters spread the light, making skin look smooth and natural.
You can buy extra filter kits for even more creative options.
Try using a tungsten filter for a cozy, golden look. Use a diffusion filter to make the light softer on your subject’s face. These simple changes can turn a normal photo into a work of art. When you experiment with filters and creative lighting, you make your portraits unique and eye-catching.
Note: The LumiMuse 8’s filters are easy to attach and remove. You can switch between looks quickly while taking portraits on location or in the studio.
Tips for On-the-Go Portraits
Portable Lighting Solutions
When you take portraits outside the studio, you need lighting that is easy to carry and quick to set up. Portable LED lights help you work fast and stay flexible. The LumiMuse 8 stands out because it is small, lightweight, and fits in your bag. You can use it for on location portraits without feeling weighed down.
Here are some key things to look for in portable LED lights:
Key Consideration |
Description |
|---|---|
Adjustable Brightness and Color Temperature |
Lets you change the light for different scenes and skin tones. |
Power Options and Battery Life |
Long battery life and USB charging keep you shooting longer. |
Compact Design with Mounting Flexibility |
Small size and easy mounts help you set up anywhere. |
Efficient Heat Dissipation and Low Noise |
Keeps the light cool and quiet, so your subject stays comfortable. |
Extra Features and Controls |
Simple controls make it easy to adjust settings on the go. |
The LumiMuse 8 uses a lithium-ion battery that lasts about one hour. This is enough for most short portrait sessions. You can recharge it with a USB cable, so you do not need to carry extra batteries. Many other lights use AA batteries, which may not last as long.
Product |
Battery Type |
Battery Life |
|---|---|---|
LumiMuse 8 |
Lithium-ion |
~1 hour |
Other LEDs |
AA batteries |
Varies |
Adapting to Different Environments
Every location brings new challenges. You might shoot in a park, a busy street, or a small room. The LumiMuse 8 gives you options for mounting and positioning your light. You can attach it to your camera with a shoe mount or use a mini tripod for more control.
Mounting Option |
Description |
Benefits for Portrait Shoots |
|---|---|---|
Camera Shoe Mount |
Attaches directly to your camera. |
Fast setup and easy movement. |
Manfrotto PIXI Mini Tripod |
Works as a stand or handheld grip. |
Stable and flexible for different angles. |
Tip: Try moving your light around your subject to see how the shadows and highlights change. This helps you find the best look for your on location portraits.
You can use the LumiMuse 8 in bright sunlight or low light. Adjust the brightness to match the scene. The compact design and quick mounting options let you adapt fast, so you never miss a great shot.
When you use LED photography lights like the LumiMuse 8, taking portraits gets easier and more fun. You can see how bright your photo is right away. This helps you change your setup fast. Many photographers pick constant led lighting because it lets you choose the mood and look for each portrait.
You can use filters and modifiers to change the light.
You can move the light around to see what looks best.
You can add props and edit your photos to make them more exciting.
Trying different lighting setups helps you find your own style. With good tools and some creativity, you can always take a great portrait.
FAQ
How do you charge the LumiMuse 8 LED light?
You charge the LumiMuse 8 with a USB cable. Plug it into a power bank, laptop, or wall adapter. The battery lasts about one hour. You can recharge it anytime.
Can you use the LumiMuse 8 outdoors?
Yes, you can use the LumiMuse 8 outdoors. Its compact size and strong battery make it easy to carry. You can mount it on your camera or a tripod for outdoor portraits.
What filters come with the LumiMuse 8?
You get snap-on filters with the LumiMuse 8. These include a diffusion filter and a tungsten filter. You can use them to soften the light or change the color temperature.
How do you control the brightness of the LumiMuse 8?
You control the brightness with a four-step dimming button. Press the button to choose the light level you want. This helps you match the light to your scene.