Plan solar pathway lights around three separate questions: where you need to see the route, where the panel can receive light and how the exact product must be mounted. A decorative scene or a generic lumen number cannot answer all three. Make a site record before committing to holes, stakes or a fixed layout.
Mark the places that matter
Walk the route and mark the gate, changes of direction, edges and steps you need to recognise. Keep light positions clear of the walking line and maintenance access. Treat the following as a planning worksheet, not a spacing standard or a guarantee of safe visibility.
| Place to record | Daytime observation | Decision before fixing |
|---|---|---|
| Gate or entrance | Panel exposure and an unobstructed approach | Can this location serve the route and the panel? |
| Bend or change of level | What needs to remain visible from both directions? | Does the proposed light show that feature? |
| Shaded bed or fence | Shade at several times, including likely seasonal changes | Move the proposal or ask about a documented alternative |
| Mounting surface | Exact kit, surface and access requirements | Is the specified fixing arrangement suitable? |
| Evening trial | Date, weather, selected mode and observed result | What remains unclear or needs a different design? |
A 6 m path is not a spacing formula
Hypothetical example: a 6 m path has a gate, a bend beside a shaded fence and a step at the door. Start with those three tasks rather than dividing the distance into equal intervals. If the proposed bend position is shaded, record that conflict and review the layout or a documented alternative. After installation according to the manual, check the actual route from both directions; if essential visibility is not established, seek a suitable lighting design rather than relying on decoration.
Check charging at the proposed site
For a specific documentary example, the XSolar GL-S manual, physical page 10, identifies white EAN 4007841671204 and silver EAN 4007841671211. It calls for a sunny south-facing panel location, warns about shade, glass and incorrect orientation, and says charging takes longer in winter or rainy conditions. This exact manual does not establish the performance of the lanterns in the cover photograph or every solar light.
Use your own model's instructions and record the proposed panel position before choosing the final appearance. Do not infer an all-night runtime from a sunny afternoon or from a decorative photograph.
Read the mounting method before preparing the ground
The same GL-S manual, physical pages 10-11, describes profile elements and a baseplate secured to a standing surface. That is a useful counterexample to the idea that every solar pathway light simply pushes into soil. Identify the actual supplied kit and follow its surface and fixing instructions; this article does not supply generic drilling, anchoring or wiring steps.
Record the operating mode when checking the result
The GL-S manual's physical page 11 distinguishes P1 sensor mode from P2 sensor mode with basic lighting. It states that basic lighting reduces light availability and that brightness and stay-ON behaviour can adapt to ambient conditions. Use this as an exact model example, not a promise that every path light has these modes or stays bright throughout the night.
When reviewing your installation, write down the selected mode, date, weather and what you actually observed. A record of a particular evening is more useful for support than an unsupported claim that all solar lights behave alike.
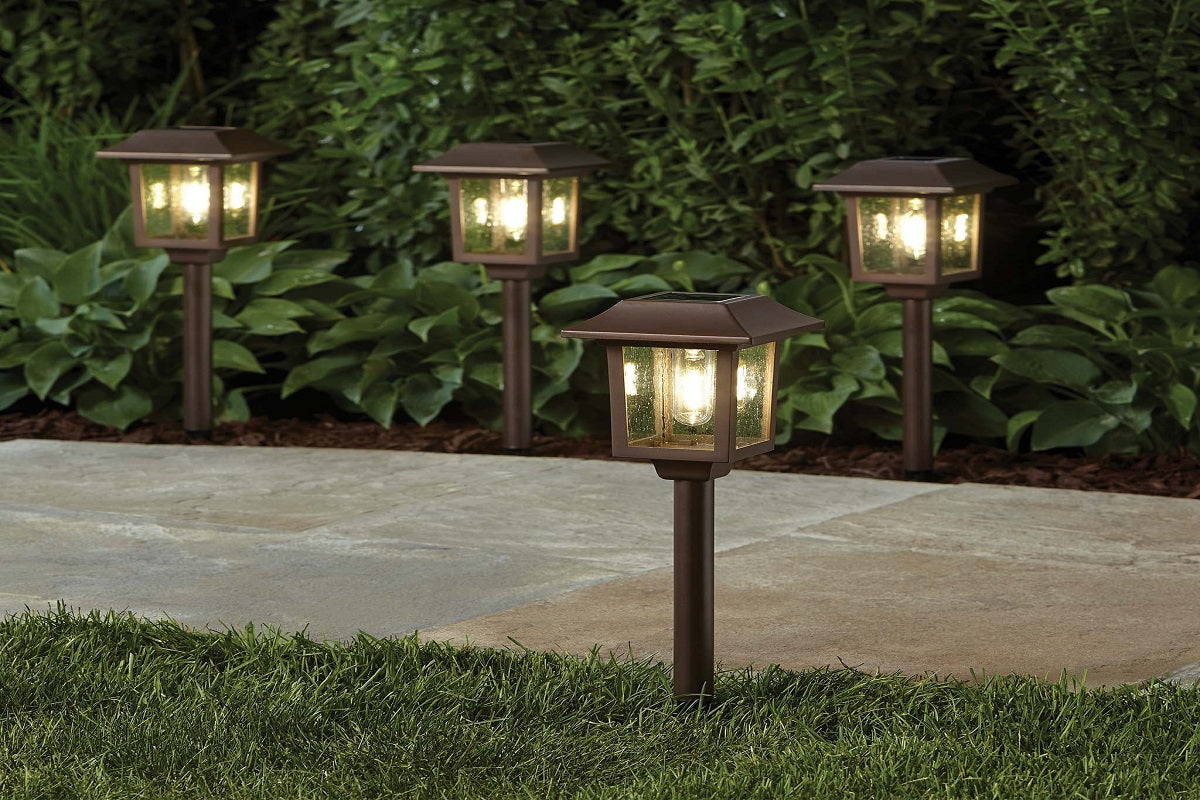
Image note: the lantern-style lights illustrate a garden scene. Their identity, solar charging, brightness, spacing and mounting suitability have not been verified from the picture.
Keep the plan with the product instructions
Keep the model code, manual revision, site sketch and first observations together. For ongoing care, see the solar light maintenance guide; for the separate question of sensor coverage and panel position, see solar motion sensor planning.
Frequently asked questions
How far apart should solar pathway lights be?
There is no spacing figure established here for every product and path. Mark the places you need to see, follow the exact mounting instructions and assess the resulting visibility before treating the layout as adequate.
Will a shaded location charge a solar path light adequately?
Do not assume it will. The cited XSolar GL-S manual warns that shade, glass and panel direction can limit operation, and that winter or rainy conditions take longer to charge. Other models need their own site guidance.
Can every solar pathway light be pushed into the soil?
No universal mounting method is established. Some designs use a stake; the cited XSolar GL-S manual instead describes profiles and a secured baseplate. Use only the mounting arrangement documented for your exact product.